
Create HL7 messages from database records
What this tutorial builds
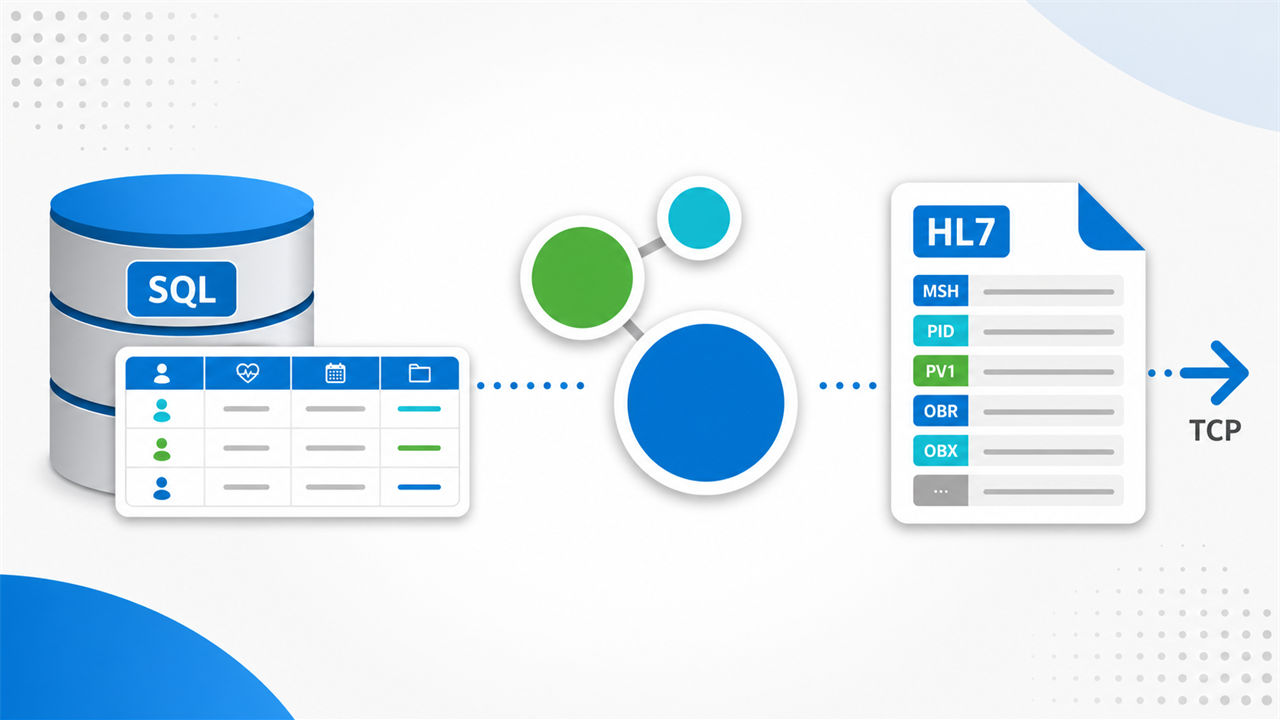
In this tutorial we go the other way from the database-writing example. We take patient records out of a database, build an HL7 message from those values, and send each generated message on to another system over TCP.
The first pass is a simple one-off extract: every row in the Patients table becomes an HL7 message. Then we change the workflow so it watches the database for new or updated rows and clears a change flag after each record has been sent.
Before you start
- HL7 Soup and Integration Host installed.
- A SQL Server database, SQL Azure database, or another supported database provider.
- A Patients table with fields such as patient ID, first name, last name, and date of birth.
- An HL7 message template that your receiving system accepts. If you do not have one yet, HL7 Soup can create or insert a sample message for you.
- A TCP/MLLP test listener so you can receive the generated HL7 messages while testing.
Step-by-step guide
- Start with the Patients table. The tutorial uses a simple table with a database patient ID, first name, last name, and date of birth. Keeping the table small makes it easier to see which value ends up in which HL7 field.
- Create a new receiver workflow. In HL7 Soup, open the Receivers tab, click New, and create a workflow named something like
Send Patients to HL7. - Add a Database Reader activity. Choose the Database Reader activity and name it
Get Patients. Select SQL Server for the data source, or choose the provider that matches your database. - Enter the connection string. Use the example connection strings as a guide, then fill in the server, database, and security details for your environment. The video uses a SQL Azure connection string.
- Write the select query. Select the patient ID, first name, last name, and date of birth from the Patients table. For the first test, keep it as a plain extract-all-data query with no criteria.
- Add the result field names. Paste the selected column names into the result fields list so HL7 Soup knows which database values will be available for binding. Those names then appear in the workflow binding tree.
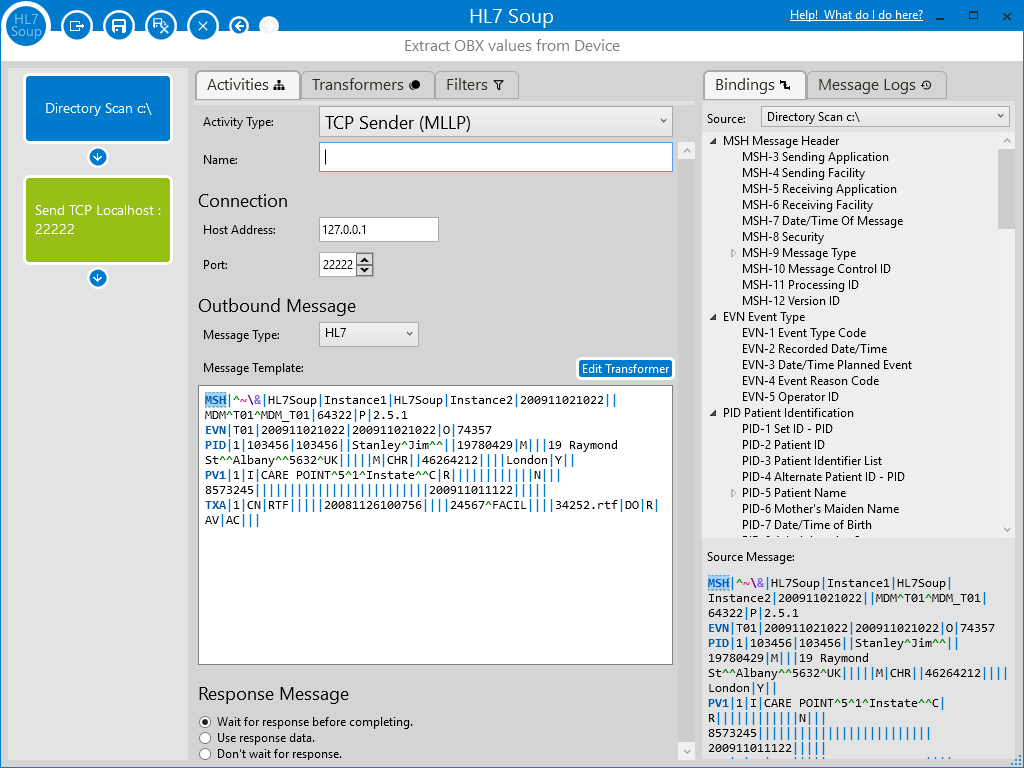
- Add the outbound HL7 activity. Add a TCP Sender activity, set the receiving host and port, and choose HL7 as the message type. You could write a file or send HTTP instead, but TCP is the common HL7 path shown in the tutorial.
- Provide an HL7 message template. Use an existing message from the receiving system if you have one. If not, create a new sample message in HL7 Soup, choose a patient event such as A04, A08, or A28, and cut the sample down to the fields you need for the example.
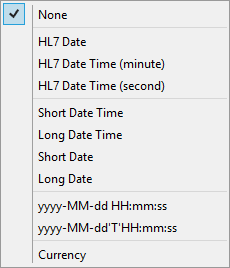
- Set message-level variables. Replace the message date/time in MSH-7 with the current date and time system variable, formatted as an HL7 date with seconds. Replace MSH-10 with the workflow instance ID so each message has a unique control ID.
- Bind database fields into PID. Drag the database patient ID into PID-3, the last name and first name into PID-5, and the date of birth into PID-7. The binding tree lets you drag the result fields straight into the message template.
- Run the first test. Save the workflow, create a simple TCP receiver listening on the same test port, and start the
Send Patients to HL7workflow. The logs should show one outbound HL7 message for each row returned by the database query. - Fix date formatting if needed. If the birth date appears in the database format instead of the HL7 format, right-click the binding and choose Format Dates and Numbers, then select the HL7 date format.
- Add a change flag for ongoing polling. Add or use a field such as
ChangeFlag. In the video, a trigger sets the flag to1for new rows and2for updated rows. - Poll only changed rows. Change the select query so it returns rows where
ChangeFlag > 0. Set the Database Reader to continuously poll the database, for example every 10 seconds. - Clear the flag after sending. Add the post-processing update query that sets
ChangeFlagback to0for the patient ID that was just processed. Bind the patient ID from the result row into the update parameter. - Promote it to an integration. Because this version needs to keep watching the database, promote the workflow to an Integration Host integration so it stays running and picks up changes in near real time.
Building the outbound HL7 message
The message template is just an example of what should be sent to the receiving system. Literal values can stay in the template, and the parts that change for every patient are bound from the database result fields.
Useful checks and troubleshooting
- No messages are sent: check that the select query returns rows and that the database connection string is using the right server, database, and credentials.
- Messages are created but not received: confirm the TCP host and port match your test receiver or receiving system.
- Date values look wrong: format MSH-7 as an HL7 date/time and format PID-7 as an HL7 date before sending.
- The same row keeps sending: check the post-processing update query and make sure the patient ID parameter is bound to the current result row.
- Nothing is picked up while polling: update a row and confirm your trigger or application code changes
ChangeFlagto a value greater than zero.
Related tutorials
- Write HL7 messages directly into a database
- Integration Host Getting Started
- Introduction to the HL7 Soup Editor
Download 30 Day Free Trial of HL7 Soup
Video Transcript
Read the full transcript
In this tutorial we're going to show you how to extract values from a database and construct an HL7 message that can be sent on to a medical system. The first one is a basic patient extract that will be converted into an HL7 message. We'll then show you how to configure it so that you can constantly monitor a table for new updates.
First let's take a look at the database and see what we've got. It's a very simple database. We've got a Patients table, and I've selected the rows. You can see we've got a database ID for each of the patients, their first name, their last name, and their date of birth. Those are the fields we're going to be using at the moment.
Let's head over to HL7 Soup and start by creating a receiver that will extract the data from the database. Click the Receivers tab, click New, and that opens up the Workflow Designer screen. I'll give it an indication of what we're trying to do. In this example we're going to send patients to HL7.
We're going to set where we're going to get the data from, and we're going to choose our Database Reader. We'll call this first activity Get Patients. Now we select what data source we're using. We're using SQL Server in this example, but you could use other databases. Then we just need to put in our connection string. There are some example connection strings you can use for the data source, and you just have to fill out the fields that are appropriate. I happen to have a connection string already for my SQL Azure database, so I'll paste that in.
Now we need to give it a query to retrieve the patients from the database. I'll paste one in again. It's a very simple query: we're selecting from the Patients table and extracting out the patient ID, the first name, the last name, and the date of birth from the database. There is no criteria for this query at the moment. It's just an extract-all-data query.
I then need to tell HL7 Soup what fields I expect in the results. In this case I can take it straight from the select statement and paste it into the result fields. Notice it automatically removes the square brackets for me. This is a one-off process, so we're not going to be polling and we don't need to update the database once we're finished. That's our extraction from the database.
Now let's build up the message. I need to add another activity. We've got a few options for what we're going to do with that HL7 message. We could write it out as a file or send it off as an HTTP message, but in this case I'm going to do the common thing with HL7 and send it off as a TCP message. I need to set the address and port, set that we're sending an HL7 message, and now I need to provide a message template.
A message template is an example of what that message is going to look like. Hopefully you've already got one. It's much easier if you've got an existing HL7 message that you know is going to work on the receiving system. However, if you don't, we can go across to HL7 Soup and use one of the many sample messages as the basis of our message. We could also create a new message, choose the message type, and choose the event type. As we're sending out patient data, it may be register a patient, more likely an A08 update patient information, or an A28 add person information. It's probably going to depend on who you're sending it to.
I'm just going to choose the first one and say OK. No matter what I choose, it's going to fill out all the fields available to me automatically as a blank message. Then it's up to me to cut that message down to just the fields I want. In this case I'm going to make it super simple and cut it down. I can expand some of the sections because I know I want the name, and it automatically puts in sections for me. I'm going to copy this and use it as the basis for our message.
Another option is to right-click and insert a sample message. It gives us a base one that might be appropriate for your needs, with more of the message filled out already. In reality a lot of the message is just literal values, but I'm going to paste this one in. What we'll end up producing is perhaps an incomplete HL7 message, but this way it will be easier to demonstrate exactly what needs to be done.
The message template is the message that's going to be sent on to our TCP receiver. It's up to us now to populate those fields inside that HL7 message with the data that we extracted from the database. There are a number of literal values in an HL7 message. They are likely just going to stay the same, and any value you type here will be repeated on all instances.
Here we have the date of the message. We're going to have to update that for each message with the current date. All I have to do is select it, right-click, go Insert Variable, and set it to the current date and time. Then I'm going to want to format that current date and time by right-clicking and choosing Format Dates and Numbers. I'll set it to an HL7 date with seconds in it, and that makes sure it's in the date format required for HL7 messages.
Then I've got the message control ID. That's normally an incrementing number per message, so I'm going to replace this one as well with the workflow instance ID. That's another one of the system variables, and it's a number that will increment with each message that gets sent.
Now let's populate the fields that we extracted from the database. In our binding tree we can already see the names of the fields that we added into the first activity. All I have to do is drag those into the appropriate location. I'll drag in the patient ID. As we move the mouse over it tells us what field we're looking at. I want to move it to PID-3. The first name attaches to the given name, the last name goes into the family name, and the birth date goes into PID-7. Great, that's our simple scenario and our very simple HL7 message built.
Let's test that out. I'll hit Save and Close. We did configure that HL7 message to be sent to port 22222, so I'm going to quickly create another receiver that's listening on port 22222 for that message. The defaults are fine, so I'll save and close. Its only responsibility is to receive the messages once they have been created so we don't get any errors. I'm going to create that as an integration, which will make sure it's always running.
We'll choose our Send Patients to HL7 workflow and hit Start Receiving. That will query the database and create those messages. If we click back into the workflow and look at the message logs, we can see that nine messages have been sent from the database. Each row from the record set has been returned as an individual message. It has now created an HL7 message from the data in the database, generated a date, put in the message control ID, and included our patient ID, name, and date of birth.
I've noticed one fault in this workflow: that's not the HL7 segment format for the date of birth. I know what I've done wrong. I need to go back to the HL7 message, right-click the birth date binding, choose Format Dates and Numbers, and select the HL7 date. That puts it into the appropriate format. If I save now, head back to HL7 Soup, and start receiving again, the logs show the date in the correct format.
That's the first scenario. Now let's move on to the second scenario, where we're going to check the database for new or updated messages. I'll bring the database back up. You'll notice that I've got a ChangeFlag on this table. There are a number of ways that we can extract new and updated records. One is with a change flag, or you could do it by date. It's up to your database.
In this particular database we've got the ChangeFlag field available. I have a trigger ready and waiting that I can enable. It's a simple trigger. All it's going to do is set the ChangeFlag to 2 if the patient is updated, and set the ChangeFlag to 1 if a new patient is inserted. We can use that in our query criteria to select where the ChangeFlag is greater than zero, so it will return all patients with a non-zero changed flag.
We'll set the Database Reader to continuously poll the database looking for those changes, and we'll do it every 10 seconds. Then we'll tell it to update the database afterwards. I insert this query to update the Patients table. We're going to set the ChangeFlag to zero where the patient ID is the patient ID parameter. Then we'll populate the patient ID parameter field. We got that out of the database when we first queried it, so I can go to the bindings and drag that patient ID back into here. It's going to use the same ID of the record that we're currently executing over and update that field so we know we've already processed it.
Because this workflow is now monitoring the database, we are going to want it to be always running, so I'm going to take advantage of Integration Host and promote it to an integration. On the Integrations tab we can see that it has processed no records so far, because we've had no changes or updates to the database since we started it.
If I head over to the database, edit the table, update one of the records, and click off, the database sets the ChangeFlag to 2 on the fly because of my trigger. Back in HL7 Soup we can see it has picked up that record. In the logs we can see that it retrieved that record from the database and sent on the HL7 message. Because it's running in Integration Host, this will always monitor and pick up the data in almost real time, processing it and sending it off to another system.
As always, if these videos have helped, why not return the favour: give us a like or consider subscribing to our channel. If you've got any questions, feel free to log them on the HL7 Soup website.